To record my self-education in progress, I’m going to post what I learn as I go along.
Today’s lesson: programming an Arduino to flash LEDs.
There are so many tutorials on the Web (and on the Internet, too, of course) that I’m not here to teach the general reader the art/science of programming.
Instead, I’m going to record how I learn in order to help my future self should I suffer a debilitating mental setback and need information about how my brain used to work in case it assists me in rewiring my mental circuitry.
First of all, I’ll record the recent purchase of equipment from RadioShack (thanks to Tim at the Huntsville Commons location!) I added to my pile of stuff in the study/lab:
- ARDX – the Experimenter’s Guide for Arduino (product number 276-252)
- PIR Motion Sensor by Parallax Inc (product number 276-135)
- RadioShack standard server (product number 2730766)
- RadioShack micro server (product number 2730765)
For today’s lesson, I’ll only use the ARDX.

Since I’ve already played with the Arduino lighting up a single LED, I’m jumping ahead in the ARDX to the second experiment — playing with eight LEDs!
Yes, I know this is too much fun for one person, let alone an Internet full of them!
Anyway, here’s the circuit diagram we’re going to use:

Next order of business — getting the parts bags out so I can be ready to pull parts as needed:
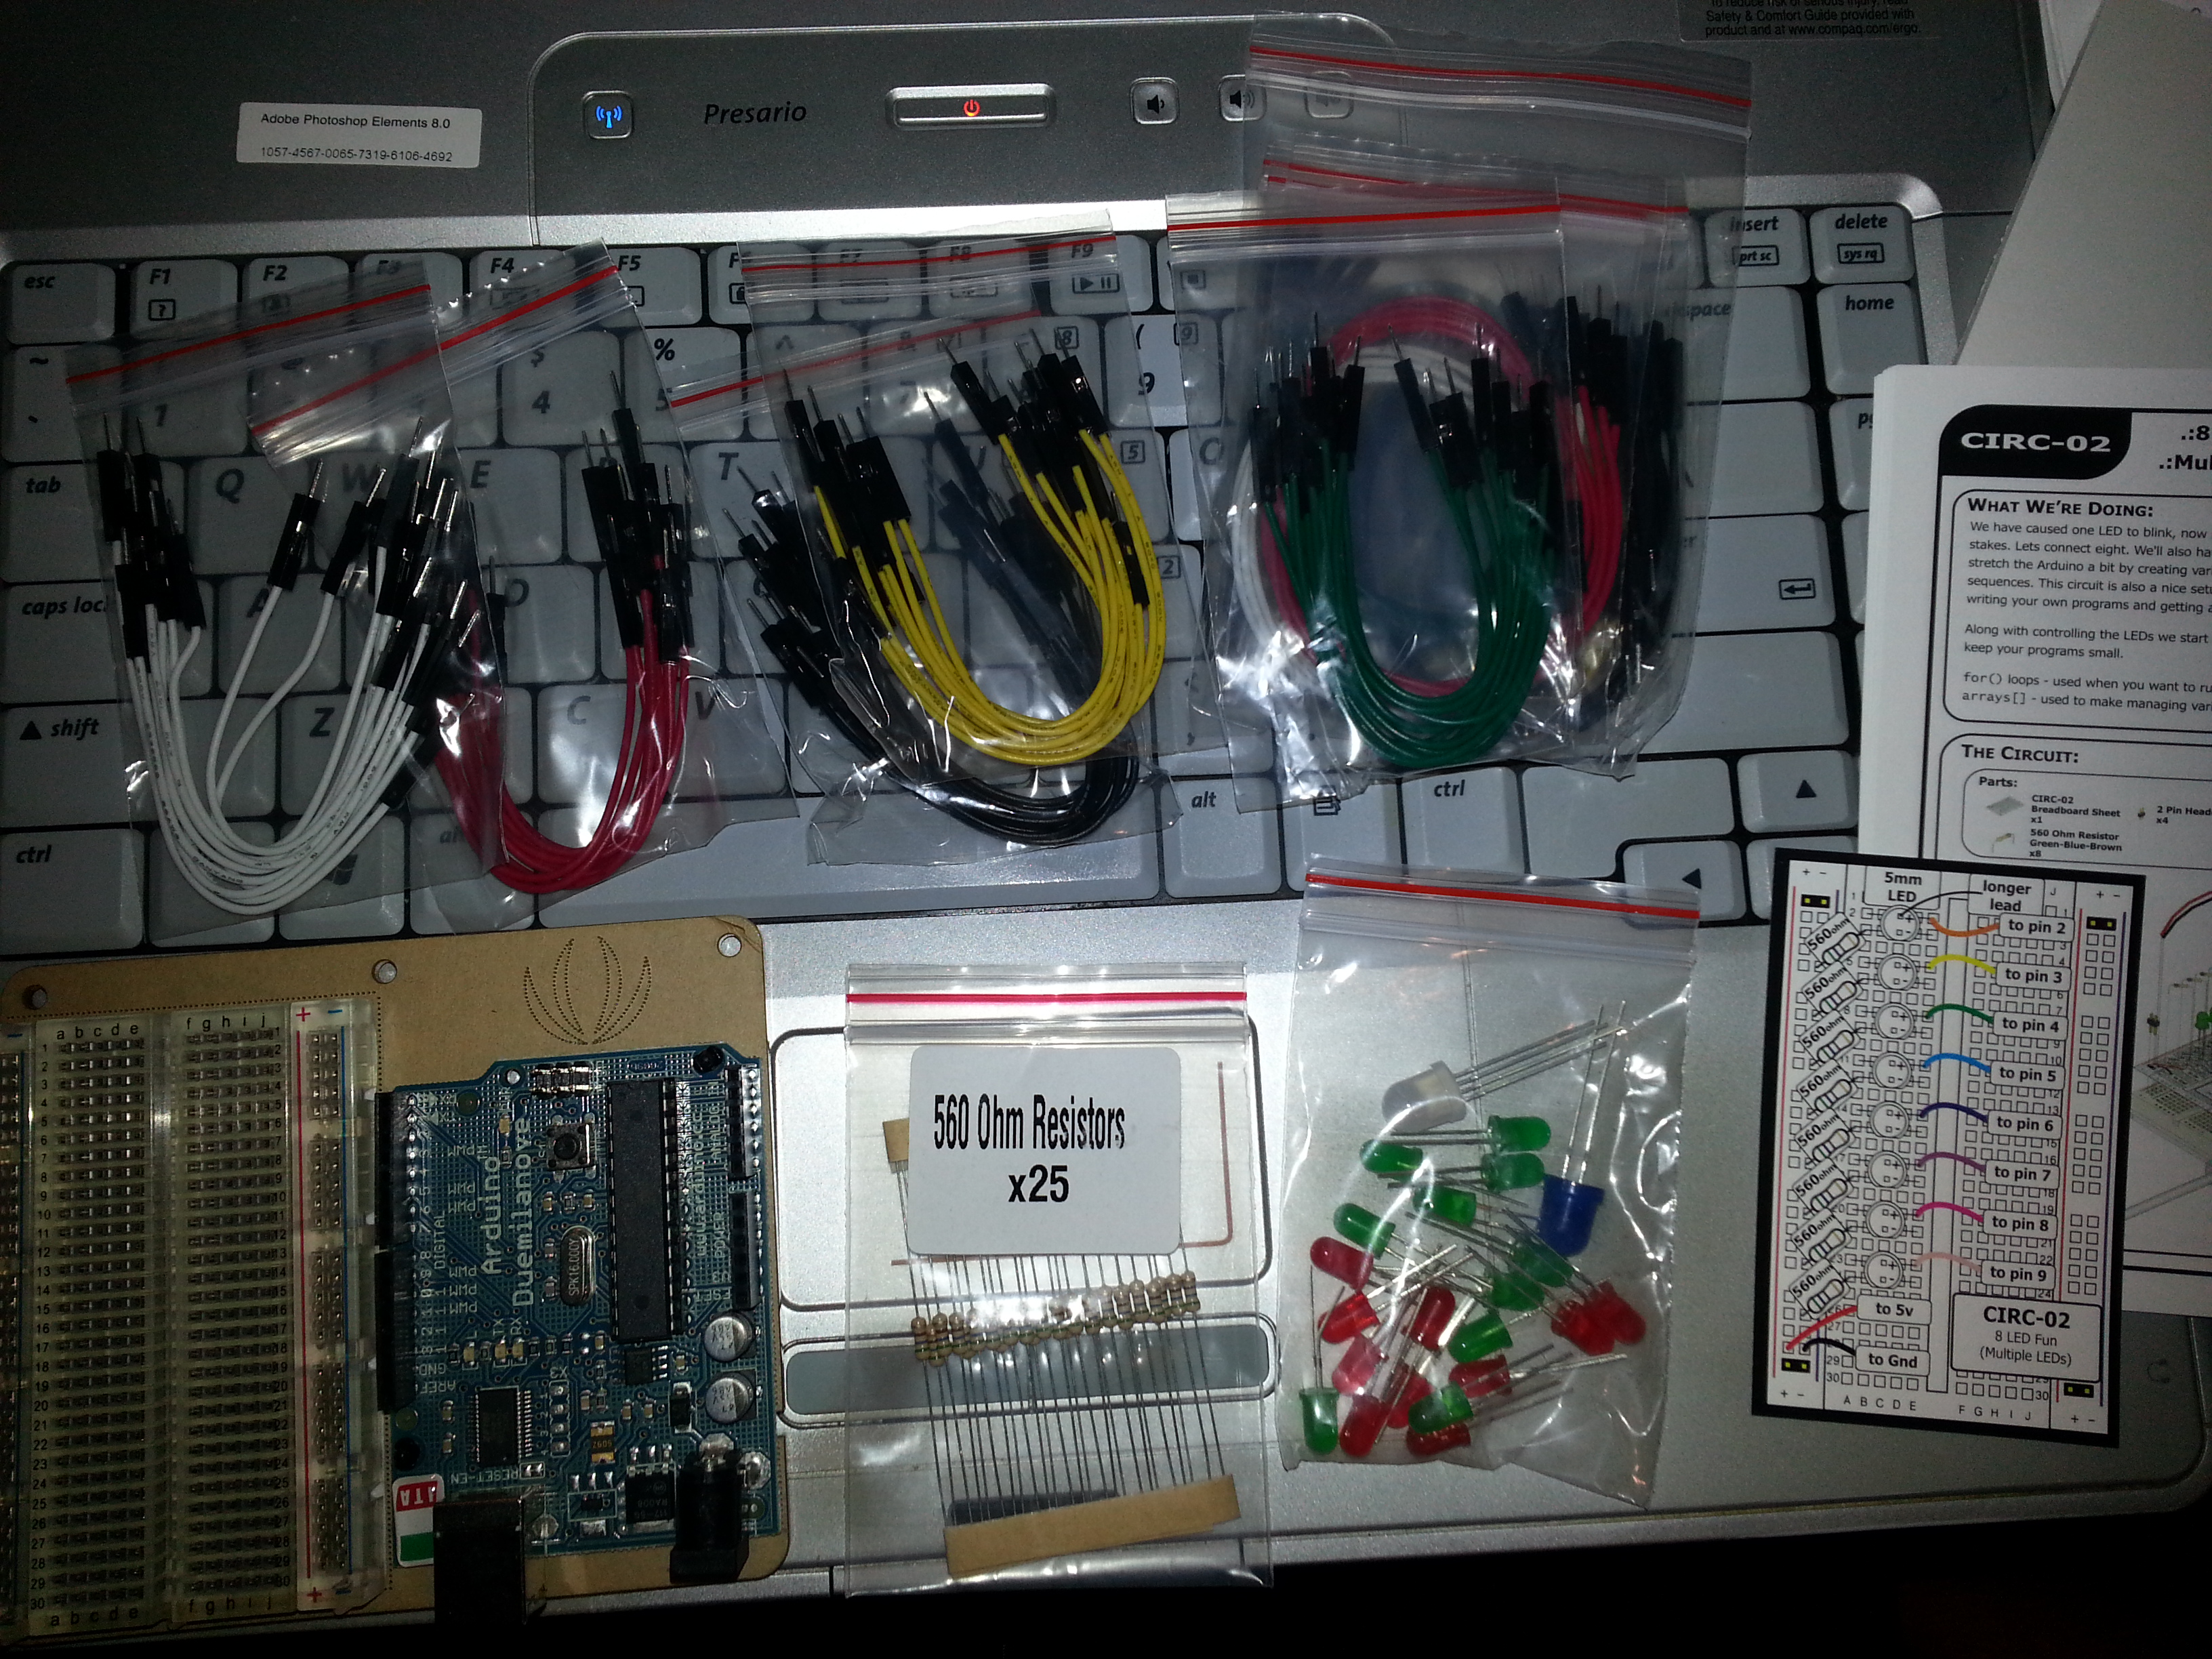
Okay, now’s it the old plug-n-pray that my big fumble fingers and half-blind eyes can see to place the parts in the right holes on the breadboard.
Do a visual double-check (and a triple-check of the double-check) and I’m ready for the software side of things:

It’s off to the Arduino programming environment I go!
I grabbed the code for this experiment off the company’s website, http://ardx.org/CODE02, and pasted it into the Arduino coding section, naming the “sketch” CIRC02:

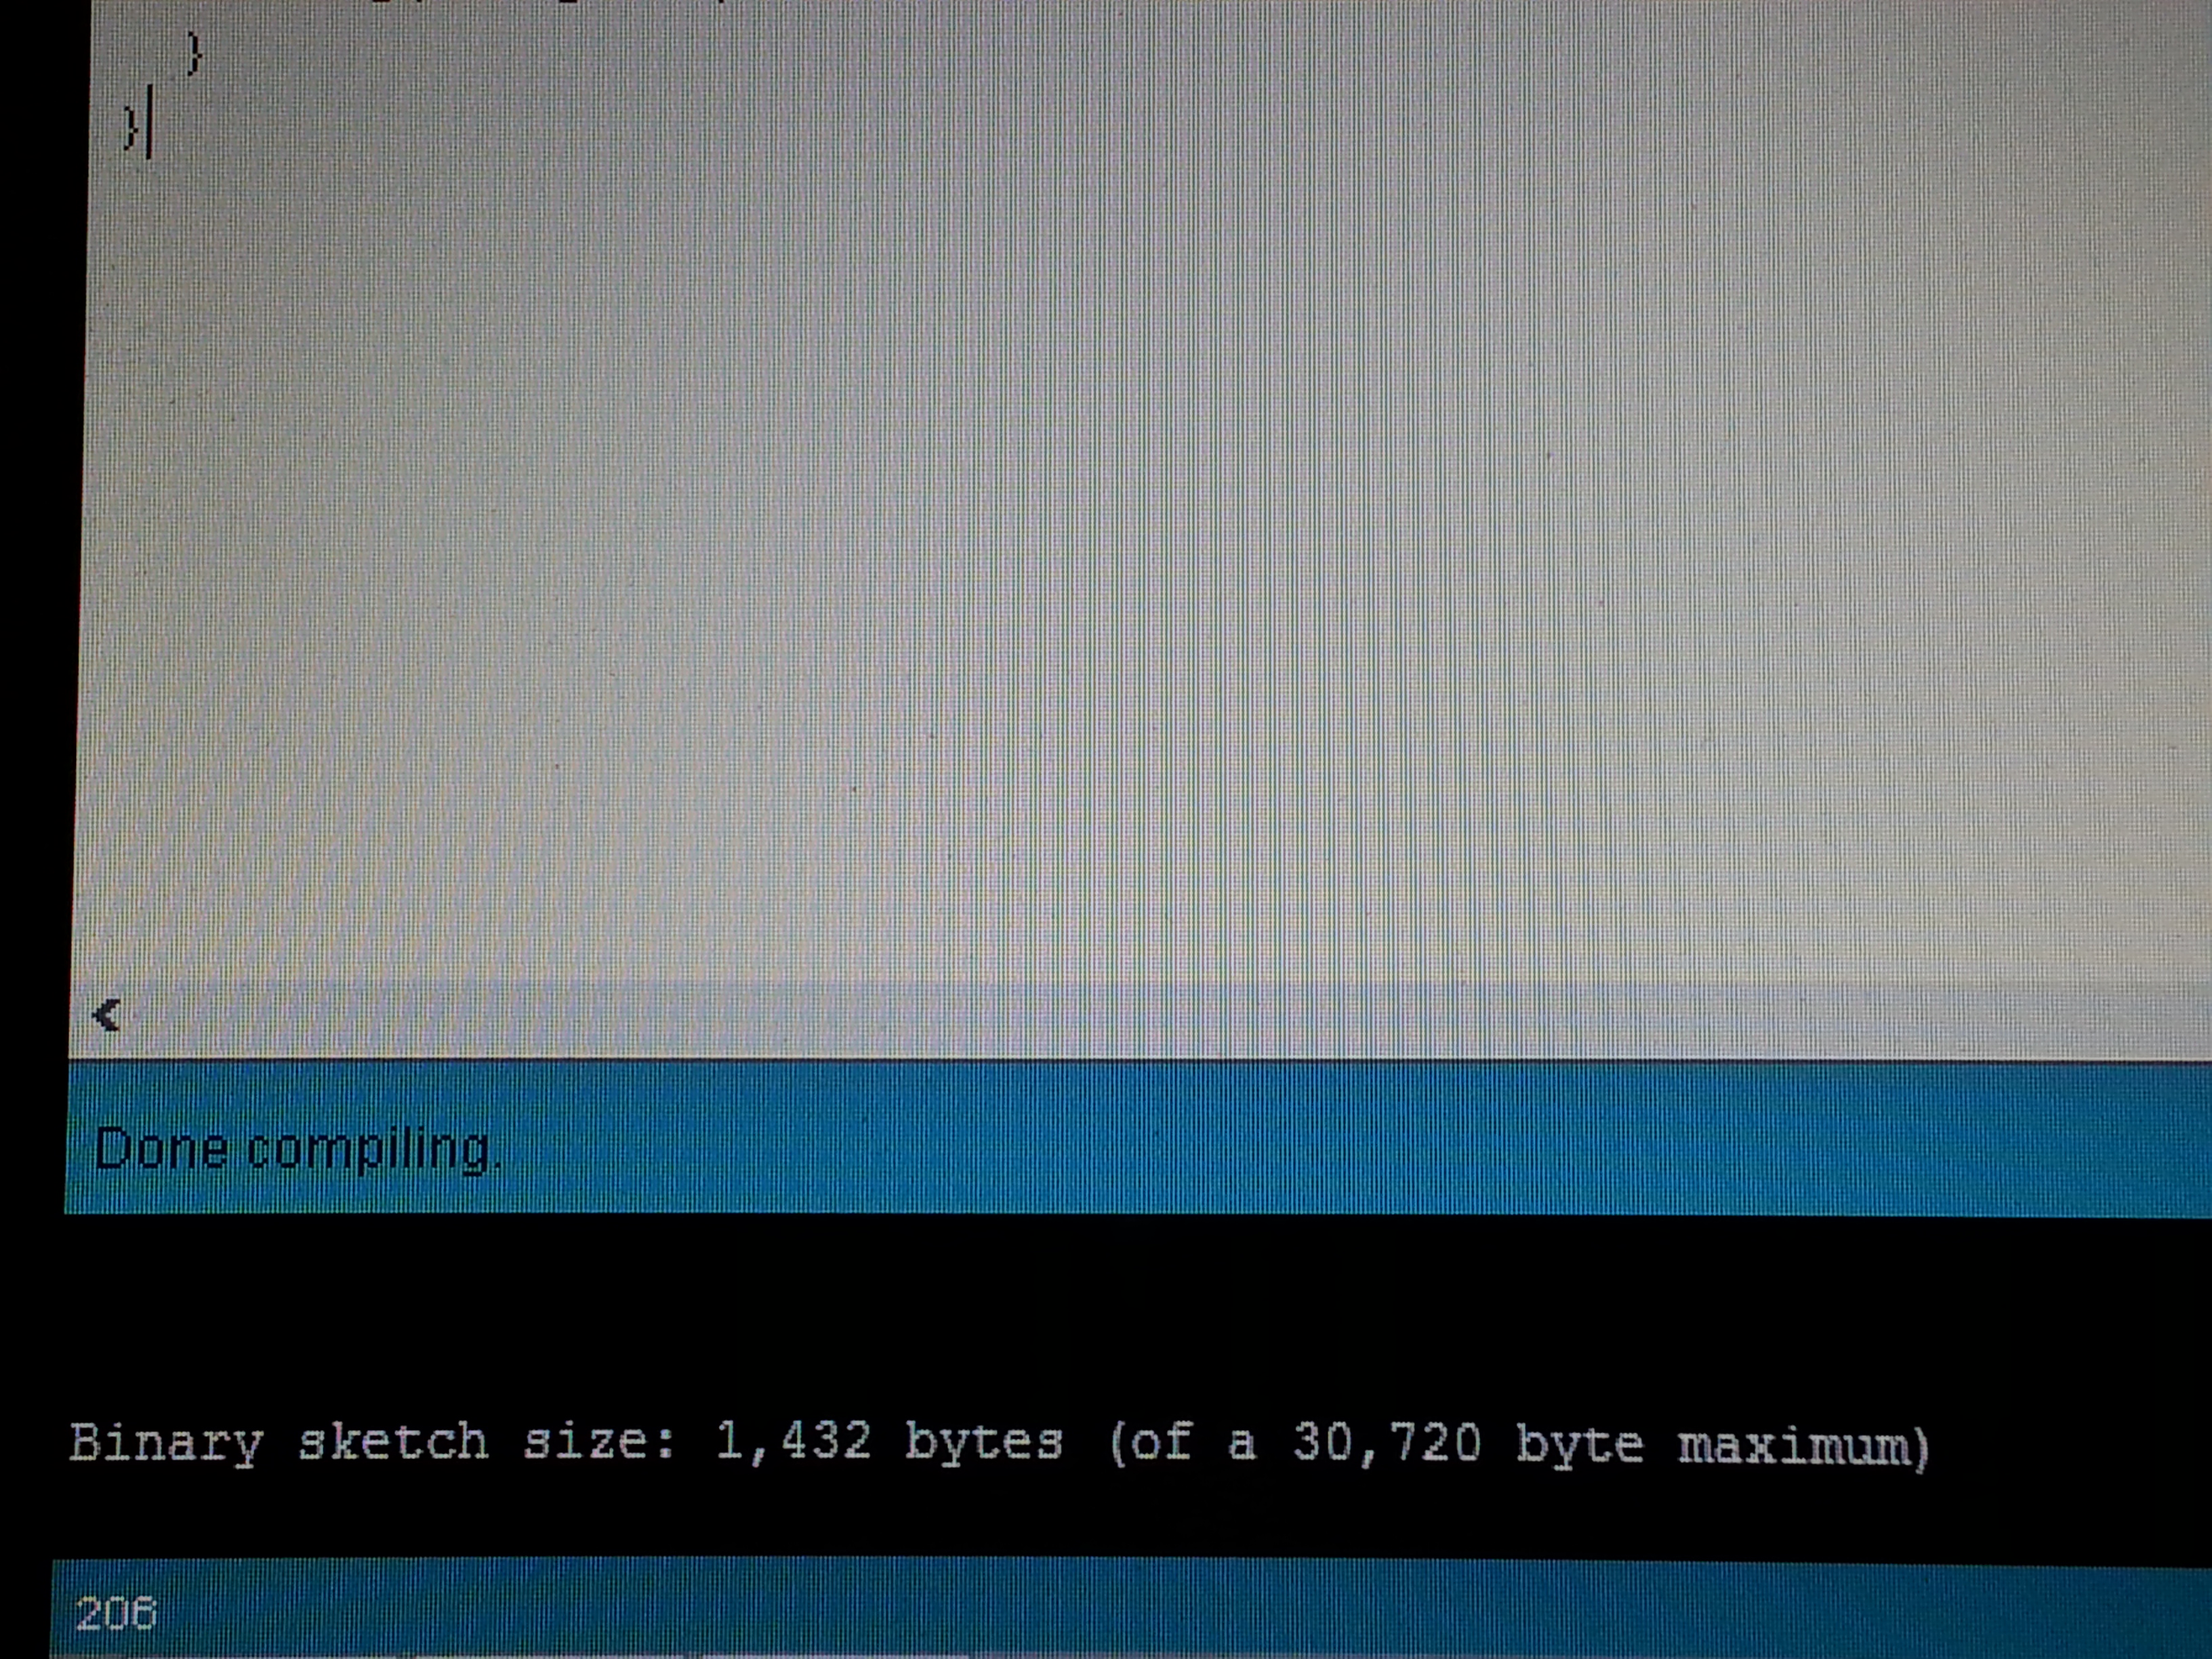
I verified that the code is functional by compiling it — successful!:
I then plugged the Arduino to my notebook PC via USB cable and let it boot up:

Finally, I uploaded the code from the notebook PC to the Arduino:

And here’s what the code produced.
On to the next task — figuring out what this code can do for my yard art sculpture!
